Connecting to Wi-Fi network on Windows 10 is very easy. Follow below steps to connect to Wi-Fi network on your Windows 10 device
Things you need to know before starting
- Wi-Fi hotspot name
- If you are connecting to secure network, you will need password/key to connect
Connect to Wi-Fi
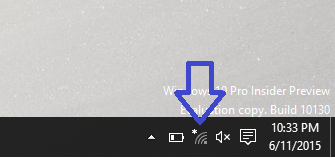
- Make sure Wi-Fi is enabled on your computer. You will see icon like below in taskbar at bottom right if Wi-Fi is enabled
- If Wi-Fi is disabled on your computer. You will see disabled icon like below in taskbar at bottom right
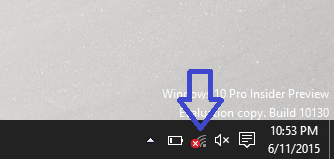
If Wi-Fi is disabled, enable it using Wi-Fi enable Key on your computer. Wi-Fi Enable Key is normally located on one of Function keys on Keyboard
-
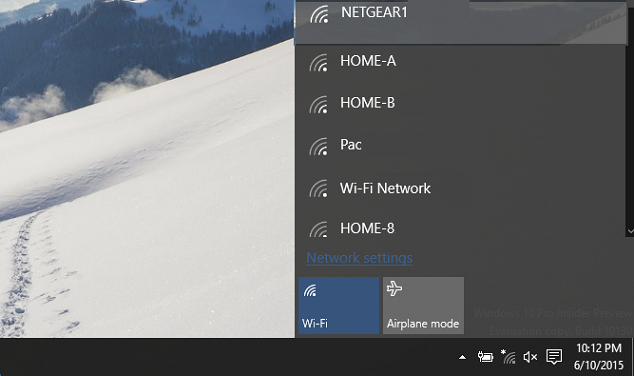
Click on Wi-Fi icon in taskbar to see all available Wi-Fi hotspots
-
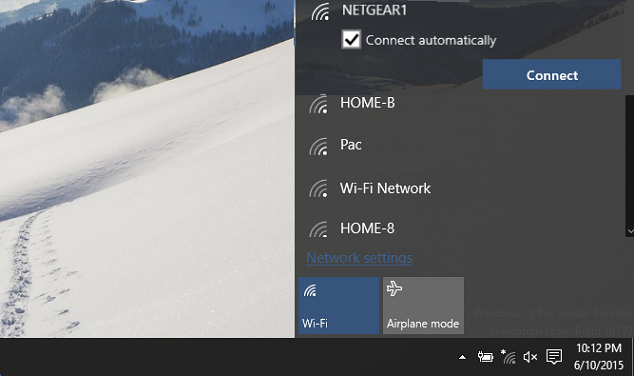
Select Wi-Fi hotspot you want to connect
- Check 'Connect automatically' checkbox, if you always want to connect automatically
- Click on 'Connect' to continue
-
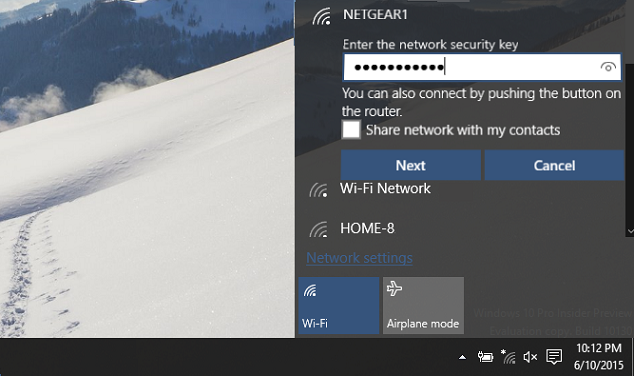
If you are connecting to secure hotspot, enter hotspot key/password in 'Enter the network security key' field
- If you want to use 'Windows 10 Wi-Fi sense' feature to share your network with your contacts, check 'Share network with my contacts'
- Click on 'Next' to continue
-
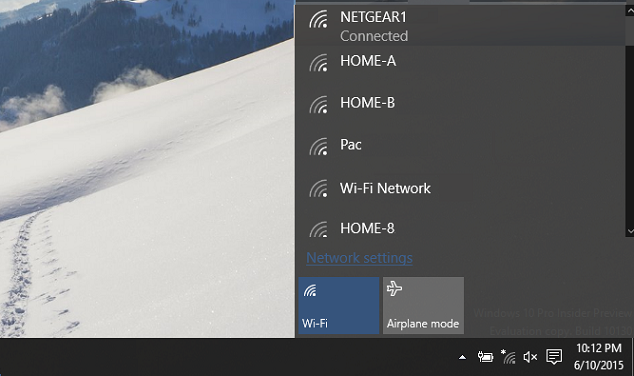
After this your computer will be connected to Wi-Fi network
-
You can verify connectivity by opening Web browser and typing any website address in address bar